I wanted to start with the plank walls since we've had SO many emails, comments, and questions even when people have stopped in to see the room in person. First off, as if I didn't already say this a million times now I'm going to say it again, I freeeeeking LURVE these walls. It adds dimension to what was previously a plain wall and it makes the room feel a lot larger.

Let's get to those questions though...
What kind of wood did you use?
We used 1/4 inch HD (high density) board. We tried the 1/8 inch board initially but it didn't have enough depth so we went with the 1/4 inch. They were $13 for a 4x8 sheet. We needed 3 sheets for our two walls.

How did you attach it to the wall?
We used a stud locator to find where the studs were and then used an air nailer to nail the boards to the walls at the studs. We didn't use glue (as some people do) because if I were to change my mind about the planks and want them removed, using glue would ruin the drywall behind the boards and make a lot more work to get the drywall back to looking good (which now I can 100% say these planks aren't going anywhere!). The 1/4 inch board is pretty light weight so using the nails is sufficient enough to hold the boards in place.

Where did you start?
Mark started at the top and worked his way down. The most important thing is to make sure your boards are level. NOT that they are in line with your ceiling because more than likely your ceiling isnt 100% level all the way across. So start with the top board and make sure to get that one level all the way across. Caulking the ceiling after you paint will fill any gaps and make it look perfect. After that you can work your way down and keep checking the level with each board. Wonky boards would not make a pretty room!

What is the width of the boards?
Mark ripped the boards with the table saw into 6 inch planks. I read A LOT of plank wall tutorials before we started and this was the measurement most people went with. I think it's perfect but really it's all in what you think looks best in your room.

Did you do any sanding?
After I spackled all the nail holes (which really didn't take that much time) I used a block sander and went over the whole wall twice. I took the vacuum hose and vacuumed along each gap after sanding because it got really messy. This whole process went pretty quick and I think made it overall look better. Make sure you cover your kitchen utensils if you have any out or you will be washing everything to get it clean again. Speaking from experience. :)
What color white paint did you use and what was your painting technique?
I painted a coat of Zinsser Fast Primer and then did two coats of Dutch Boy brand white paint called Delicate Pearl in a semi-gloss finish. I choose that color since it's the same color as the trim in our home so it matches up perfectly with the surrounding floor and window trim.

My technique for painting was to paint the gaps and the edges with a brush and then rolled on the rest.

I would say overall this wasn't a difficult project. It took about 3 after work nights to get all the boards up on the wall. If we did a wall with out windows or a door and didn't require so many cuts then it would have gone a lot faster! The priming/painting took me three days to do. That includes filling in the holes.
It's a relatively cheap room update as well. I think for the effort and cost it was WELL worth the beauty!!

Items we used + break down of what we spent:
boards (3 sheets at $13 ea) $39
table saw (we already had)
air nailer + nails (we already had)
spackle (we already had)
block sander (we already had)
primer (we already had)
paint $12 (after rebate)
paint brush (we already had)
paint tray liner $0.69
paint tray (we already had)
Since we already had so many of the items (which are pretty common home improvement items that most people have on hand anyways) this project cost us under $52 to do and about 6 total nights worth of work.
So what do you guys think? Plank walls aren't anything new but in our neck of the woods it seems like it's something we don't see very often and I am here to tell you if you are good with a tape measure, level, and have a few nights to spare you can get this same look in your house for pretty cheap!

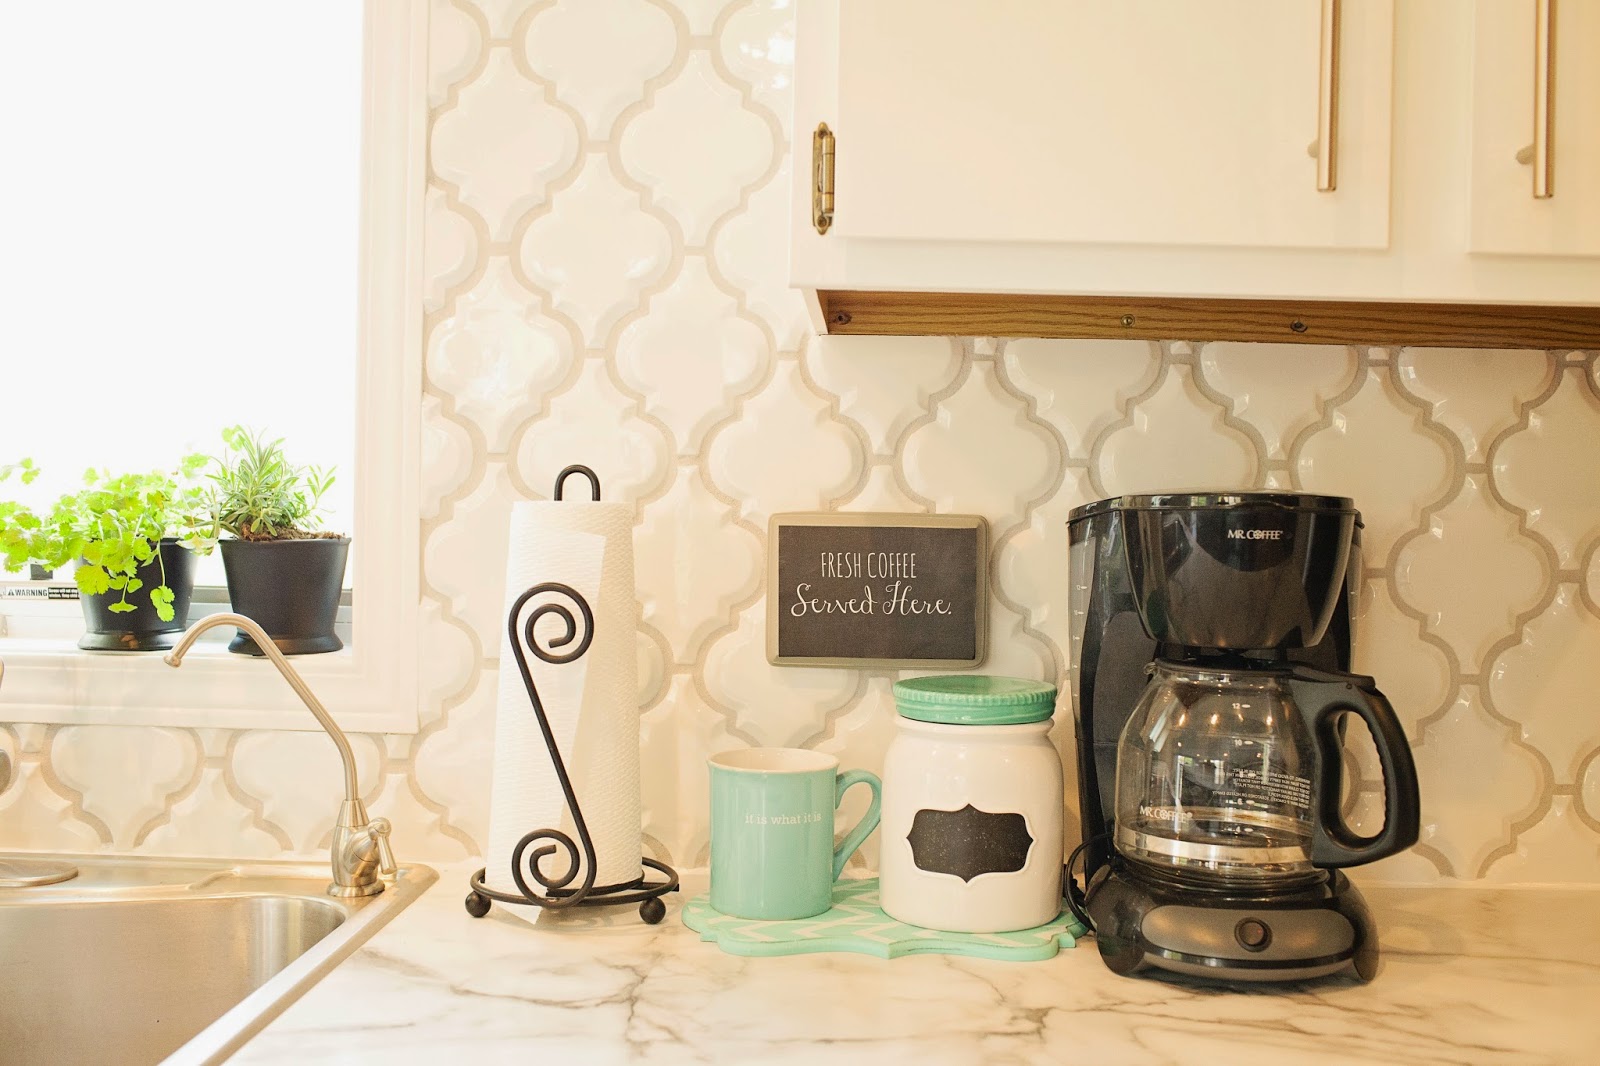
Let us know if you have any other questions! Next week I will share details on that GORGEOUS tile back splash of ours...cant wait to share because this tile is truly so beautiful!!