Wednesday, December 3, 2014

{ Coffee Station }

So if you cant tell by now, I like to jump around from project to project with out always giving you a final "this is done" post on things I've shown you. Like the basement and the shoe storage in my entry way. I will get around to showing you those some day. Maybe when they actually get done, how does that sound? We still need another coat of paint on the ceiling downstairs and the shoe storage has a few final things that need to get finished up and then I'll show you. I promise. 

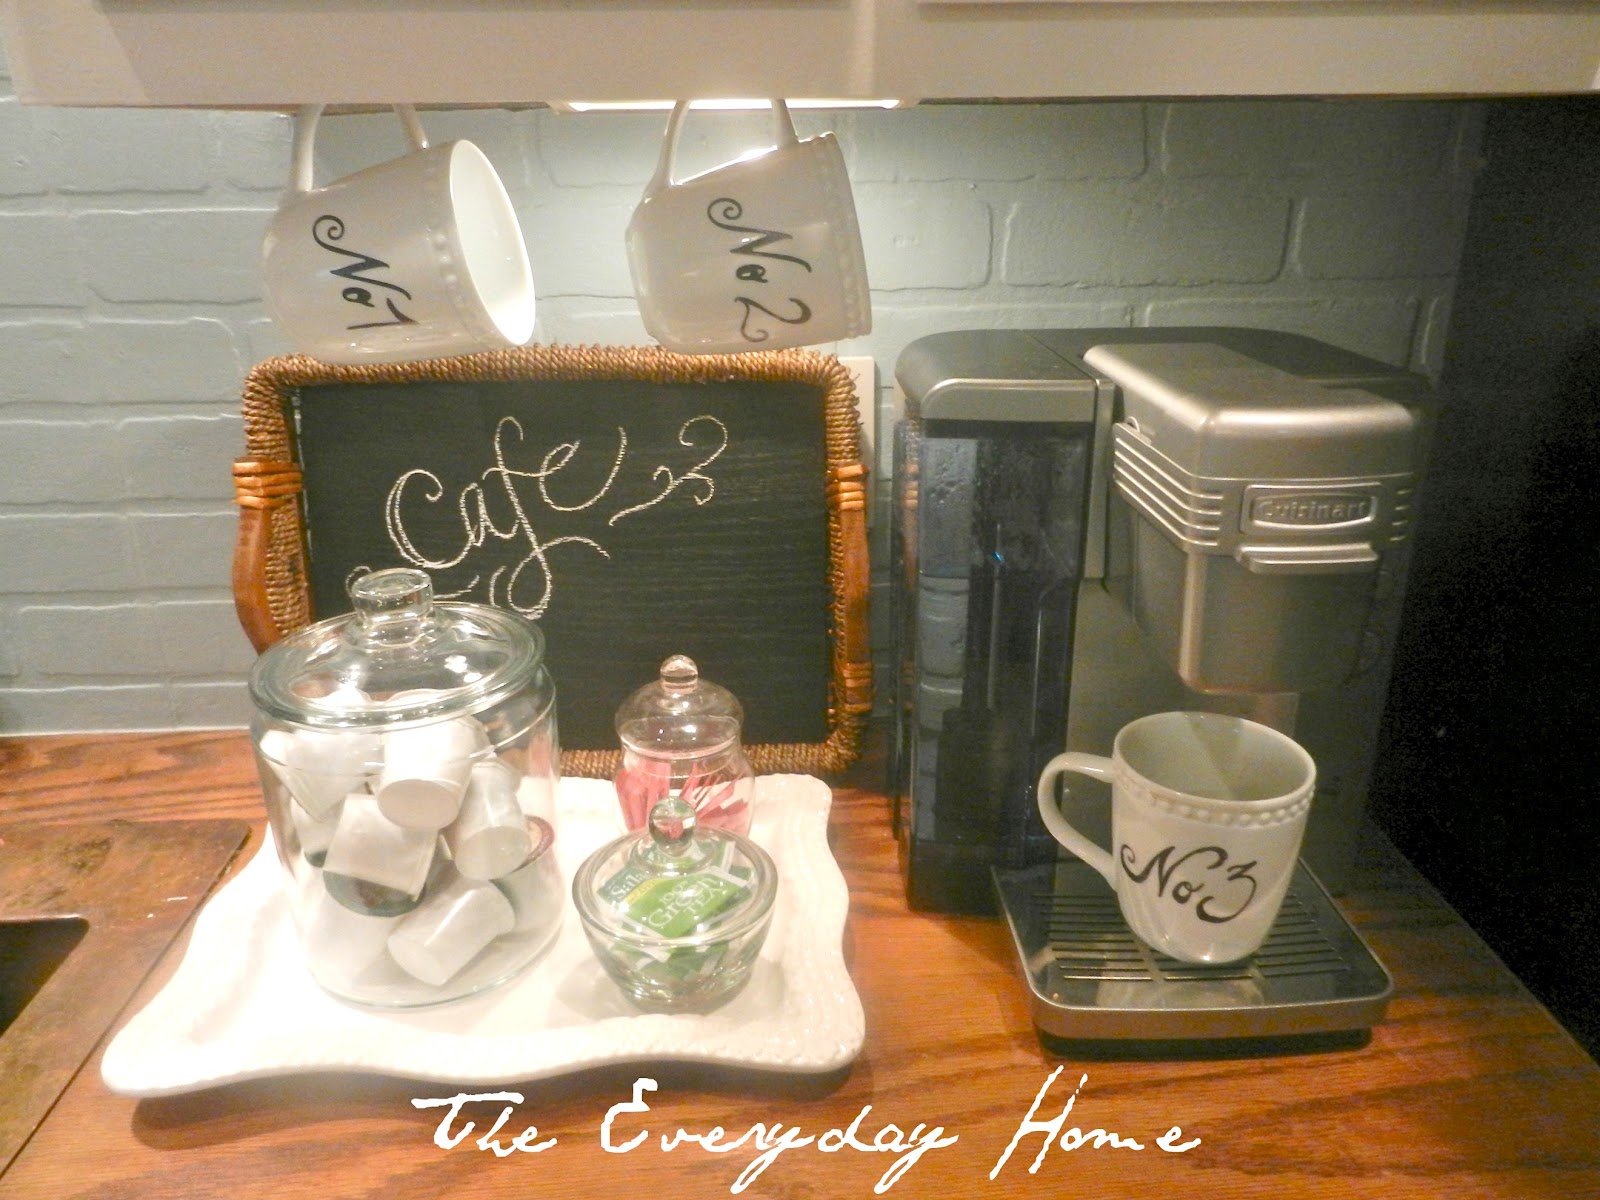
Until then, I have been wanting to do a little coffee station in our new home for awhile now and finally got it done this week. Just in time for the holidays!

I don't drink coffee very often. Mostly only a cup a day and only on the days I go to work. I know-what's wrong with me-you are asking right? Even worse when I do drink coffee, what I should be saying is, I drink coffee with my creamer. I'm really trying to be more of a grown-up and use less creamer but I'm not there yet. So even though I don't drink coffee on a daily basis I like to have friends over for coffee. And it's cute so it needed to be done. That should be excuse enough. Plus it was an easy update to do so it moved to the top of my to-do list for the week.

My inspiration was when my good friend mentioned that she was wanting to do a coffee station at her new home. She saw this on pinterest below and wanted a sign like that for her home.

coffee-station

I told her I could make one of those "But First, Coffee." signs for her.

I sent it to her, she printed it off, put it in an adorable frame and here it is in her own home!
 Cute right?!


I liked the idea of having a little sign but I wanted something a little smaller. The one that my friend had printed is an 8x10. I printed a little different one out for myself that's a 4x6.

 I had this little wooden plaque that I had painted when I went to a chalkboard paint painting class. I thought that would be cute with the little sign on it, so I used a glue stick and stuck it right on top of the plaque.


I put up a little shelf to hold a couple of coffee cups ready to grab. The white jar was perfect for holding those creamer cups that I absolutely cant live with out. 


The little tray that the jars are sitting on is actually a plaque that I think looks really great as a tray.


I've been meaning to do something in this corner for awhile now. Truth be told, this little corner of the counter was home to my bread maker for the last couple of months. I don't really have a great place to store it other than down in the basement and I'm too lazy to bring it up and down the stairs every time I want to use it, which is a lot lately. But it finally had to be put away so I could do the coffee station and I'm really glad I did.

I started pulling out a few of my Christmas decorations and I think the red wire tree looks pretty cute sitting next to the coffee station. I love Christmas decorations and have realized that I don't really have a lot of them. I'm going to have to change that over the next couple weeks and maybe hit up some of those after Christmas 90% off sales at Hobby Lobby. Side note: I swear I could spend hours in hobby lobby. They have everything!

So that's it for my little coffee corner, but here are a couple more really cute ideas for making a simple coffee station on your counter.

Get Inspiring Stylish Home Coffee Station Ideas Pictures9

coffee station

coffee, coffee cups, coffee station, chalkboard paint, K-cups, cuisinart
If you are thinking that you like either of the coffee signs above, I've included them below plus an additional one for you to print off and enjoy in your own home!


Wednesday, November 26, 2014

{ House Crash // Childhood Table Made New Again }

It's been awhile since I did a House Crash, so with the holiday tomorrow and being that most of us will be gathered around a table at some point during the day or over the weekend, I figured this would be a good one to share with you all. My sister's sister-in-law (did you follow that;)) has been so kind to share her story of her cherished table at her home here in Michigan and what cool story it is.
 
 
i have wanted a new dining table for awhile. i knew i wanted round + white with some different chairs. but was having trouble coming up with something reasonable. i was talking to my mom one day, and told her it was too bad she sold the table we had growing up because it would have been perfect!
well. lo and behold, she reached out to the people that she sold it to (they were friends) and they still had it. the only problem was, it didn't have the original chairs, the leaves, and it was taken apart, stripped, and sanded. i was thrilled. like seriously thrilled. they had intended to use it for a different project, but never finished it and were looking to just throw it away. they did alllll the hard work!
 
 
i painted it with the trim paint we had in our basement {free is always good!} i took it to the paint store just to double check with the professionals that it would hold up + they said it should. {so far, wear + tear from two babes and it wipes up great!} the two wood chairs were from target. the blue fabric chairs were a home goods find. i originally saw them + we passed them up. i went back a few weeks later and they were both still there. that NEVER happens at home goods, so i figured it was a sign they were meant to be mine!;) so happy with how it turned out! i think it really makes the space + i love that the table was my moms.:)


 I am in love with Abby's decorating style and how cool is it that she gets to have her childhood table in her own home! The kitchen has been called the heart of the home but isn't the table where you spend your time gathered together, eating-playing games-crafting-coloring-debating and everything else in between! What a privilege to have such a great piece of furniture with all those memories just to be able to keep making more of their own with their own family! I'm also drooling over those chair covers of hers. Maybe I'll get lucky one of these days and find some great slip covers for my own chairs! Thank you Abby for showing us your beautiful table and those two little cuties of yours too!!

As I prepare the few things I am making for tomorrow, I am thinking about all that I have to be grateful for this year, good health-healthy, happy and smart kids-a handsome and helpful hubby-the roof over our heads + the food in our bellies-my wonderful friends-our supportive and loving families...I could go on and on and on. With that being said, I also want to say I am so THANKFUL for you-my readers. I appreciate the time you take out of your day to read my ramblings and I am humbled each time someone tells me they enjoy reading my blog! I wish you all a very Happy Thanksgiving, time spent with those you love, reflecting on the things you have to be thankful for.

Tomorrow we plan to eat, drink, and visit with lots of family and then do it all over again on Saturday night. I'm really looking forward to eating baked beans, its one of those things we eat only a few times a year and Thanksgiving is one of those times! What are you looking forward to indulging in over the holiday??
 

Tuesday, November 25, 2014

{ Stenciled Curtains }

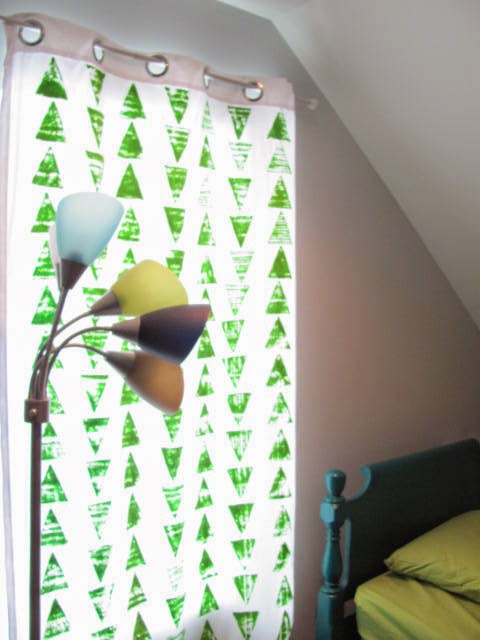
Over the summer I decided I wanted to try stenciling curtains. You've seen this all over on pinterest and blogs and it always looks really cool, so I wanted to see what I could come up with. I had an idea to do something with triangles. 

I really like vintage revivals triangle stamped wall so I wanted to try to copy that only onto curtains. 

I started out with a pair of Target's plain white curtains. 


I had Mark cut me a triangle out of some scrap wood. 


I taped on some fabric, fancy huh?!


I poured out the acrylic paint that I wanted to use and then dipped the fabric covered triangle into the paint and then pushed it down onto the curtain where I wanted it. 


I used part of a drinking straw to measure my spacing for each triangle. Really getting technical over here huh! 


I had laid the curtain out on the kitchen table to do the stamping. 

It was really easy. A little time consuming but not difficult to do. 


After I was done, I threw the curtain over the clothes line outside to dry. 

After it was dry, I hung them back up on the rod in the living room. 


I wasn't planning on having them in the living room, my plan was to do the stamping so that I could hang them in the kids room upstairs. 

I left them hanging in the living room for a couple months because I move slow like that and finally last month moved them up to the kid's room. 


I love them up there. They are perfect for the kid's room. The stamped triangles add a touch of whimsy and originality to an otherwise plain white curtain. I have yet to add anything to the wall behind the beds so it seems like these are the artwork that the room needed, for now. Obviously I am not a photographer so please disregard the terrible blurry photos. It's hard to get a good picture of windows in a dark room when it's bright outside. 


On the scale of easy-ness I would rate it at an 8.

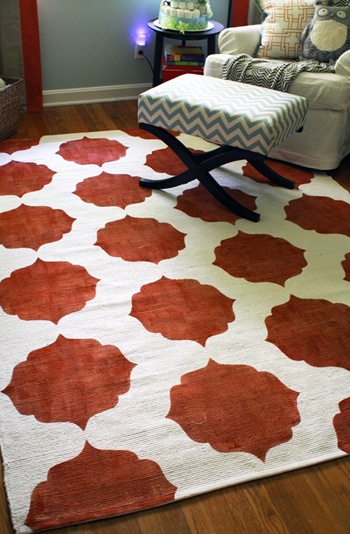
Totally do-able for anyone. I rounded up a few of the "blogland" stamped things for you to see how original and awesome stamping  or stenciling can be. 

Rug

Completed curtains

MerMagHandStampedSwaddleBlankets0


Hoping to show you our completed shoe organization by next week so stay tuned. Thanks for reading and have a happy Tuesday!